はじめに
オープンデータの地理情報を作るプロジェクトである OSM(OpenStreetMap) のデータをもとに、ルートの検索を行うためのエンジンである OSRM (Open Source Routing Machine) がどんなものかを浅く理解するために、ちょっと動かしてみた。
OSRM(Open Source Routing Machine)
OSRM は OpenStreetMap (OSM) プロジェクトのマップデータをもとにルート検索を行える C++のルーティングエンジンらしい。
OSRMのプロジェクトとしていくつかアプリケーションが公開されていて、そのうちの以下の 2 つを利用する。
- GitHub - Project-OSRM/osrm-backend: Open Source Routing Machine - C++ backend
- GitHub - Project-OSRM/osrm-frontend: Modular rewrite of the OSRM frontend using LRM
OSRM Backend は C++ のルーティングエンジンで、HTTP API も組み込まれているので、API 経由で結果を取得できる。OSRM Frontendは、Web View で Backend と組み合わせて結果をブラウザ上に表示されたマップから確認できる。
どちらも Docker で利用可能になっているので、簡単に起動できる。
試す環境
macOS で試す。
% sw_vers
ProductName:    macOS
ProductVersion: 12.6.2
% docker version
Client:
 Cloud integration: v1.0.29
 Version:           20.10.21
 API version:       1.41
 Go version:        go1.18.7
 Git commit:        baeda1f
 Built:             Tue Oct 25 18:01:18 2022
 OS/Arch:           darwin/amd64
 Context:           default
 Experimental:      true

Server: Docker Desktop 4.14.0 (91374)
 Engine:
  Version:          20.10.21
  API version:      1.41 (minimum version 1.12)
  Go version:       go1.18.7
  Git commit:       3056208
  Built:            Tue Oct 25 18:00:19 2022
  OS/Arch:          linux/amd64
  Experimental:     false
 containerd:
  Version:          1.6.9
  GitCommit:        1c90a442489720eec95342e1789ee8a5e1b9536f
 runc:
  Version:          1.1.4
  GitCommit:        v1.1.4-0-g5fd4c4d
 docker-init:
  Version:          0.19.0
  GitCommit:        de40ad0
構築
前述の通り Docker イメージが利用可能なので、それを利用する。
Backend の方は「QuickStart」の項目をベースに実施する。
Frontend の方は「Using Docker」の項目をベースに実施する。
実施内容についてのもう少し細かい記載が下記にある。
作業ディレクトリの作成
適当に作業ディレクトリを作成して移動する。
% mkdir osrm-work

% cd osrm-work
OSM マップデータの取得
OSM のマップデータを取得する。いろんな地域のマップデータがあって、範囲が広いとサイズも大きい。ここでは関東エリアのマップを取得する。
$ wget https://download.geofabrik.de/asia/japan/kanto-latest.osm.pbf
OSRM Backend の構築
OSRM Backend を構築する。Docker Desktop に割り当てるメモリリソースが 4 GB くらいは割り当ててないと、後続処理が失敗する。
まず、 OSM のデータファイルはいろんな情報が含まれているため、ルート検索用の形式で抽出する。
% docker run -t -v "${PWD}:/data" ghcr.io/project-osrm/osrm-backend osrm-extract -p /opt/car.lua /data/kanto-latest.osm.pbf
以下のようなファイルが生成される。
% ls                                                                                                                                                                                                                  [osrm]
kanto-latest.osm.pbf                kanto-latest.osrm.edges             kanto-latest.osrm.names             kanto-latest.osrm.tld
kanto-latest.osrm               kanto-latest.osrm.enw               kanto-latest.osrm.nbg_nodes         kanto-latest.osrm.tls
kanto-latest.osrm.cnbg              kanto-latest.osrm.fileIndex         kanto-latest.osrm.properties            kanto-latest.osrm.turn_duration_penalties
kanto-latest.osrm.cnbg_to_ebg           kanto-latest.osrm.geometry          kanto-latest.osrm.ramIndex          kanto-latest.osrm.turn_penalties_index
kanto-latest.osrm.ebg               kanto-latest.osrm.icd               kanto-latest.osrm.restrictions          kanto-latest.osrm.turn_weight_penalties
kanto-latest.osrm.ebg_nodes         kanto-latest.osrm.maneuver_overrides        kanto-latest.osrm.timestamp

% ls  | wc -l
      23
.osrm のファイルに対して、再帰的にセル分割する処理を実行する。(詳しくわかっていない)
% docker run -t -v "${PWD}:/data" ghcr.io/project-osrm/osrm-backend osrm-partition /data/kanto-latest.osrm
kanto-latest.osrm.cells と kanto-latest.osrm.partition の2つのファイルが追加で生成される。
% ls
kanto-latest.osm.pbf                kanto-latest.osrm.edges             kanto-latest.osrm.nbg_nodes         kanto-latest.osrm.tls
kanto-latest.osrm               kanto-latest.osrm.enw               kanto-latest.osrm.partition         kanto-latest.osrm.turn_duration_penalties
kanto-latest.osrm.cells             kanto-latest.osrm.fileIndex         kanto-latest.osrm.properties            kanto-latest.osrm.turn_penalties_index
kanto-latest.osrm.cnbg              kanto-latest.osrm.geometry          kanto-latest.osrm.ramIndex          kanto-latest.osrm.turn_weight_penalties
kanto-latest.osrm.cnbg_to_ebg           kanto-latest.osrm.icd               kanto-latest.osrm.restrictions
kanto-latest.osrm.ebg               kanto-latest.osrm.maneuver_overrides        kanto-latest.osrm.timestamp
kanto-latest.osrm.ebg_nodes         kanto-latest.osrm.names             kanto-latest.osrm.tld

% ls | wc -l
      25
ルート毎のウェイトを計算してセルをカスタマイズする処理を実行する。(詳しくわかっていない)
% docker run -t -v "${PWD}:/data" ghcr.io/project-osrm/osrm-backend osrm-customize /data/kanto-latest.osrm
さらに追加で kanto-latest.osrm.mldgr, kanto-latest.osrm.cell_metrics, kanto-latest.osrm.datasource_names の3つのファイルが生成される。
% ls
kanto-latest.osm.pbf                kanto-latest.osrm.ebg               kanto-latest.osrm.maneuver_overrides        kanto-latest.osrm.restrictions
kanto-latest.osrm               kanto-latest.osrm.ebg_nodes         kanto-latest.osrm.mldgr             kanto-latest.osrm.timestamp
kanto-latest.osrm.cell_metrics          kanto-latest.osrm.edges             kanto-latest.osrm.names             kanto-latest.osrm.tld
kanto-latest.osrm.cells             kanto-latest.osrm.enw               kanto-latest.osrm.nbg_nodes         kanto-latest.osrm.tls
kanto-latest.osrm.cnbg              kanto-latest.osrm.fileIndex         kanto-latest.osrm.partition         kanto-latest.osrm.turn_duration_penalties
kanto-latest.osrm.cnbg_to_ebg           kanto-latest.osrm.geometry          kanto-latest.osrm.properties            kanto-latest.osrm.turn_penalties_index
kanto-latest.osrm.datasource_names      kanto-latest.osrm.icd               kanto-latest.osrm.ramIndex          kanto-latest.osrm.turn_weight_penalties

% ls | wc -l
      28
OSRM API 用の HTTP server を起動する。
% % docker run -t -i -p 5000:5000 -v "${PWD}:/data" ghcr.io/project-osrm/osrm-backend osrm-routed --algorithm mld /data/kanto-latest.osrm
正常に起動すれば以下のような出力がなされる。
[info] starting up engines, v5.26.0
[info] Threads: 2
[info] IP address: 0.0.0.0
[info] IP port: 5000
[info] http 1.1 compression handled by zlib version 1.2.8
[info] Listening on: 0.0.0.0:5000
[info] running and waiting for requests
OSRM Backend の構築はこれで完了。
OSRM Frontend の構築
続いて OSRM の Frontend を起動する。ポートはドキュメント通り 9966 としている。
% docker run -p 9966:9966 ghcr.io/project-osrm/osrm-frontend
以下のような出力がなされて起動する。
> osrm-frontend@0.4.0 start /src
> npm run build && npm run start-index


> osrm-frontend@0.4.0 build /src
> npm run replace && npm run compile && cp node_modules/leaflet/dist/leaflet.css css/leaflet.css


> osrm-frontend@0.4.0 replace /src
> node ./scripts/replace.js


> osrm-frontend@0.4.0 compile /src
> browserify -d src/index.js -s osrm > bundle.raw.js && uglifyjs bundle.raw.js -c -m --source-map=bundle.js.map -o bundle.js
この状態でマップを表示させた場合、初期表示が ワシントンD.C とかになっているので、変更する。 デフォルトのイメージをそのまま使っているので、とりあえずDocker コンテナに入ってファイルを変更する。
% docker exec -it 8be8fe263398 /bin/sh
ファイル編集用に vim をインストールする。
# apk update

# apk add vim
/src/src/leaflet_options.js というファイルがあるので、下記の箇所を修正する。
下記の内容だと東京駅付近がデフォルト表示となる。
Frontend 側から呼び出される Backend の API はデフォルトではルート検索用の http://localhost:5000/route/v1 が利用されるようになっている。
--- src/leaflet_options.js.bak
+++ src/leaflet_options.js
@@ -21,7 +21,7 @@

 module.exports = {
   defaultState: {
-    center: L.latLng(38.8995,-77.0269),
+    center: L.latLng(35.679767,139.768429),
     zoom: 13,
     waypoints: [],
     language: 'en',
これでとりあえず Front の方も構築完了となる。
表示
http://localhost:9966 へアクセスする。
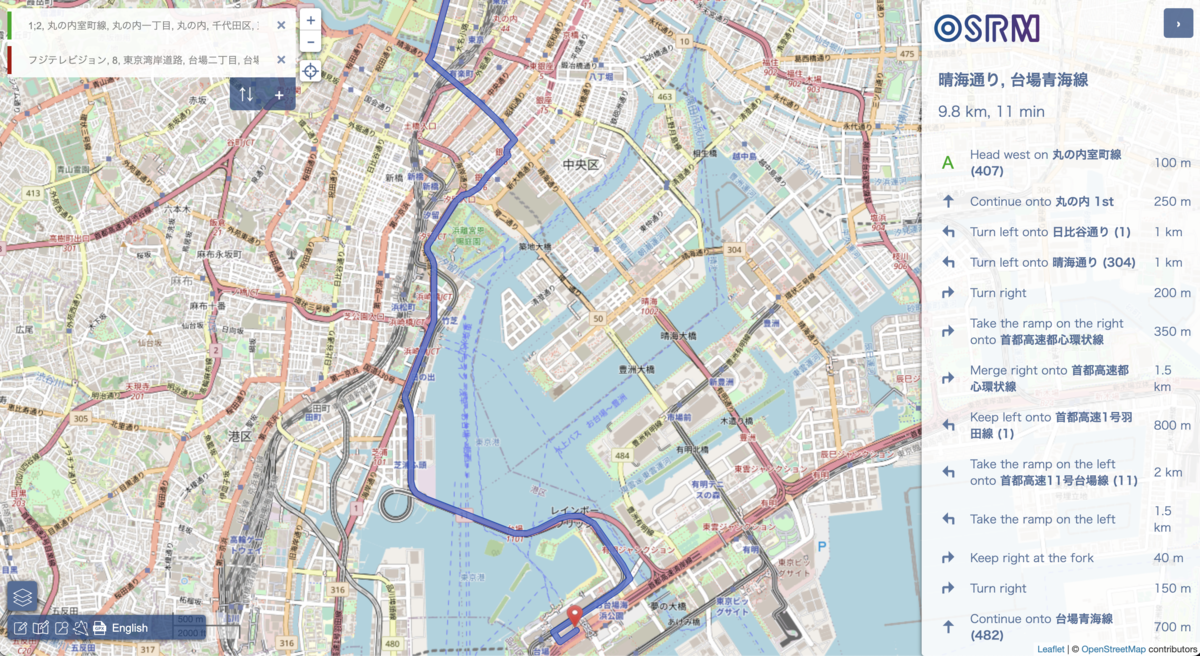
画面左下の設定項目で、「openstreetmap.org」を選択すると以下のような画面が表示される。
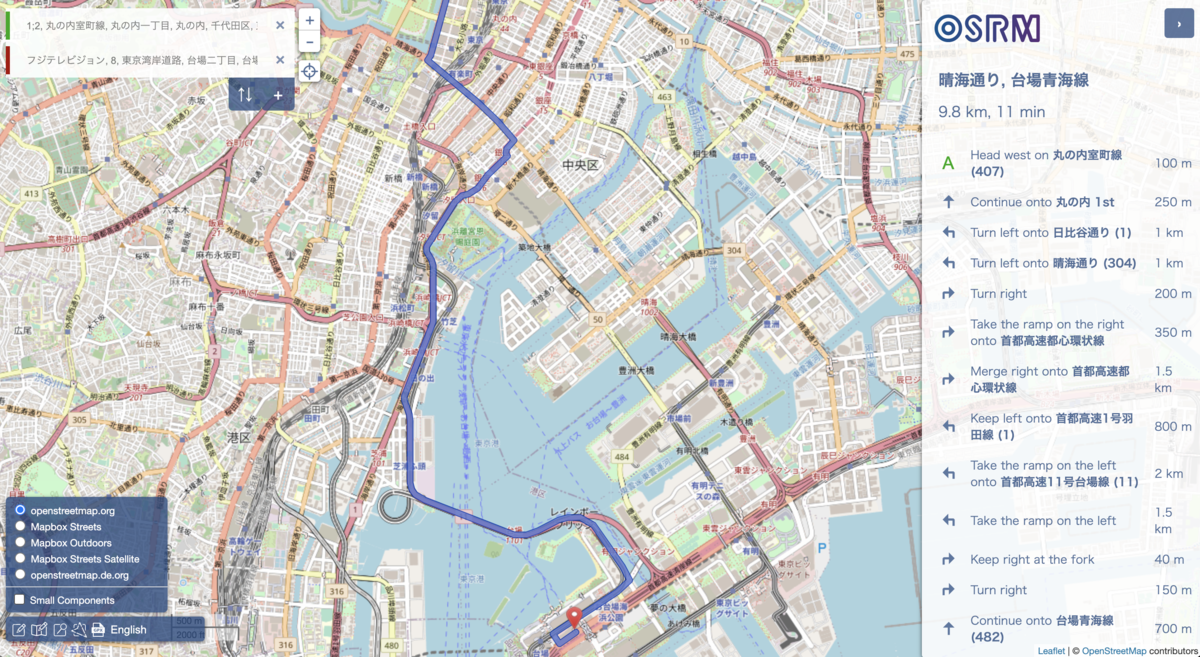
適当にマップ上をクリックするとピンが落ち、任意の地点を2つ選択すると、ルートが表示される。 デフォルトだと車道のルートになっていると思われる。
まとめ
OSRM Frontend, Backend を使って、ローカルでルート検索マップを表示させてみた。 Frontend と組み合わせることで手軽にマップを表示させてルート検索を試せて面白い。Google Map とかはこういった仕組みを使って一瞬で経路を返しているんだろうなと思った。
まだあんまり触っていないけど Backend は色々 API が用意されているので、それらの API を使うことで色々なことがやれそうだった。